How to Start a Shopify Store in 2026 – Complete Beginner's Guide

Table of Contents
Starting a Shopify store in 2026 has never been easier. Whether you want to sell physical products, digital downloads, or services, Shopify gives you everything you need to go from zero to live store in a single afternoon.
In this complete guide, I'll walk you through every step of setting up a Shopify store — from creating your account to processing your first order. By the end, you'll have a fully functional online store ready to start generating sales.
What Is Shopify?
Shopify is the world's leading ecommerce platform, powering over 4.6 million businesses in 175+ countries. It's a fully hosted, all-in-one solution that lets you build an online store without any coding knowledge.
With Shopify, you get:
- A customizable online store with professional themes
- Secure payment processing (including Shopify Payments)
- Inventory and order management tools
- Built-in SEO and marketing features
- 24/7 customer support
- Integration with social media and marketplaces
Why Choose Shopify Over Other Platforms?
There are dozens of ecommerce platforms, but Shopify consistently comes out on top for good reason:
- Ease of use: No technical skills required. If you can use Facebook, you can use Shopify.
- Reliability: 99.99% uptime. Your store is always available, even during peak sales events like Black Friday.
- Scalability: Works for a one-person craft store and billion-dollar enterprise brands alike.
- App ecosystem: 8,000+ apps extend Shopify's functionality for any niche need.
- Support: 24/7 live chat and phone support — something self-hosted platforms like WooCommerce can't offer.
See our full platform comparison guide if you're still deciding between Shopify and alternatives.
Step 1: Create Your Shopify Account
The first step is dead simple. Go to Shopify.com and click "Start free trial".
You'll be asked to enter your email address. You can also sign up with your Google or Apple account for faster onboarding.
After entering your email, Shopify asks a few questions to personalize your experience:
- What's your current revenue? (Just starting out, Under $1K/month, $1K–$5K/month, etc.)
- Which industry are you in?
- Are you building a store for a client or yourself?
These answers help Shopify show you the most relevant setup tips. Answer honestly — you can change everything later.
After this quick onboarding flow, you'll land directly in your Shopify admin dashboard. Your store is created automatically with a temporary URL (e.g., your-store-name.myshopify.com).
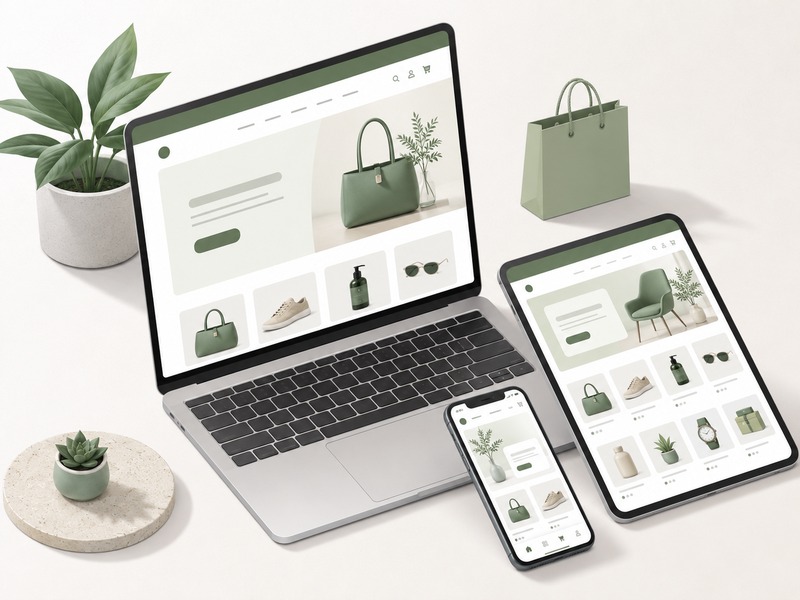
Step 2: Choose and Customize a Theme
Your theme controls how your store looks. Shopify comes with the Dawn theme pre-installed — it's fast, clean, and works great for most stores.
To browse other themes, go to Online Store → Themes → Visit Theme Store.
How to choose a theme:
- Filter by your industry category
- Look for themes with layouts that match your product type (image-heavy, text-rich, etc.)
- Check if the theme is "performance optimized" — faster themes rank better in Google
- Free themes are excellent for starting out. Premium themes ($200–$400) add more layout options.
Once you've chosen a theme, click "Customize" to open the visual editor. Here you can:
- Upload your logo and set brand colors
- Choose fonts (stick to 2 max: one for headings, one for body)
- Arrange and add sections to your homepage
- Preview how your store looks on desktop and mobile
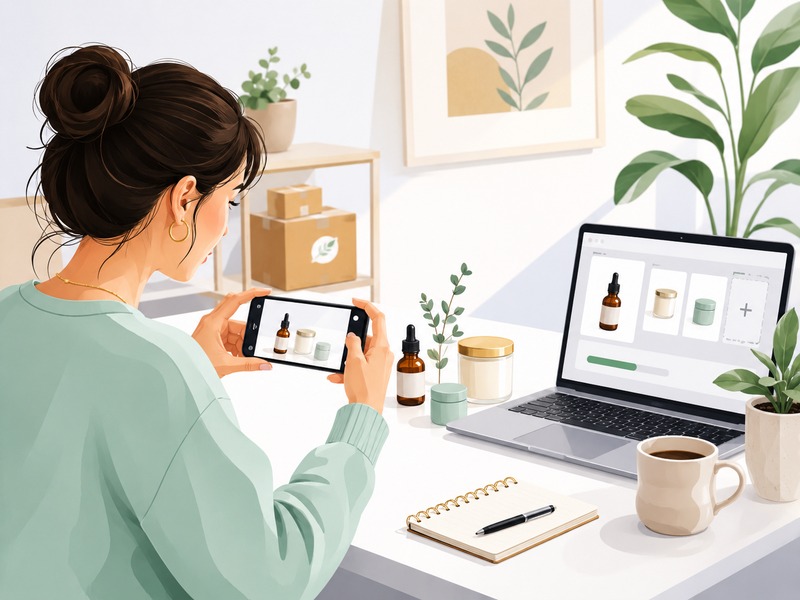
Step 3: Add Your Products
In your admin, go to Products → Add product. For each product, fill in:
- Title: Be specific and keyword-rich (e.g., "Men's Waterproof Running Shoes" not just "Shoes")
- Description: Focus on benefits, not just features. Use bullet points for scannability. Aim for 200–400 words.
- Images: Use high-quality photos. Include lifestyle shots (product in use) and detail shots. Minimum 3 images per product.
- Price: Set your regular price. Add a "compare at" price to show a crossed-out original price (great for sales).
- Inventory: Enter your stock quantity, SKU, and barcode if applicable.
- Variants: If your product comes in multiple sizes or colors, add variants. Each variant can have its own price, image, and inventory count.
After adding products, create Collections to organize them. Collections are like categories (e.g., "Men's", "Women's", "New Arrivals", "Sale"). You can set up automatic collections that populate based on product tags.
Step 4: Set Up Payments
Go to Settings → Payments to configure how you'll get paid.
Option 1 – Shopify Payments (Recommended): This is Shopify's native payment processor. It accepts all major credit cards, Apple Pay, Google Pay, and more. The big advantage: 0% transaction fees when you use Shopify Payments, compared to 0.5–2% extra fees with third-party gateways.
Shopify Payments is available in the US, UK, Canada, Australia, and many other countries. You'll need to provide banking details and verify your identity.
Option 2 – Third-Party Gateways: If Shopify Payments isn't available in your country, or you prefer PayPal, Stripe, Square, or a local payment provider, connect them here. Note that using a third-party gateway adds a transaction fee to every sale.
Option 3 – Manual Payment Methods: For wholesale orders or custom B2B transactions, you can enable manual payment options like bank transfer or cash on delivery.
Step 5: Configure Shipping
Go to Settings → Shipping and delivery.
You'll need to set up:
- Shipping zones: Define which countries/regions you'll ship to (e.g., domestic, Europe, worldwide)
- Rates: Choose from free shipping, flat rate, or carrier-calculated rates
- Weight & dimensions: Make sure all your products have accurate weights so carrier rates calculate correctly
Pro tip: Offering free shipping (built into product prices) consistently increases conversion rates. Studies show 70% of shoppers abandon carts because of shipping costs.
Shopify has partnerships with USPS, UPS, DHL, and FedEx that give you discounted shipping rates — up to 88% off retail rates depending on your plan.
Step 6: Launch Your Store
Before going live, run through this pre-launch checklist:
- ✓ Test checkout: Place a test order using Shopify's Bogus Gateway to make sure everything works
- ✓ Mobile check: Browse your store on your phone and fix any layout issues
- ✓ Legal pages: Create Privacy Policy, Terms of Service, and Refund Policy pages (Shopify has templates)
- ✓ About & Contact pages: Customers trust stores with real people behind them
- ✓ Email notifications: Customize order confirmation, shipping, and refund email templates
- ✓ Custom domain: Connect your domain in Settings → Domains (or buy one through Shopify)
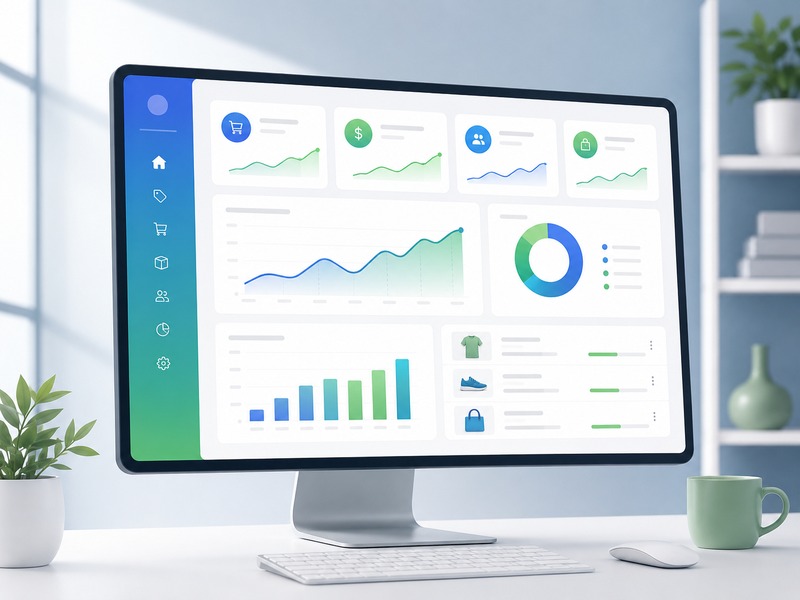
- ✓ Analytics: Connect Google Analytics via Shopify's integration in Online Store → Preferences
When everything checks out, go to Settings → Plan, choose your subscription, and your store goes live. Your remove-password page will be published and real customers can find and purchase from you.

After Launch: Growing Your Store
Launching your store is just the beginning. Here's what to focus on after you go live:
- Enable abandoned cart recovery: Shopify automatically emails customers who left without buying. This typically recovers 5–15% of abandoned carts.
- Start a blog: Content marketing drives organic traffic. Write 2 posts per week targeting your customers' search queries.
- Set up social media: Connect your Instagram and Facebook shops. Social commerce is growing rapidly.
- Run your first promotion: A launch discount (10–20% off for first customers) builds momentum and social proof.
- Install key apps: Recommended starter apps include a review app (Loox or Judge.me), a loyalty app (Smile.io), and an email marketing app (Klaviyo).
Start Your Shopify Free Trial Today
Everything described in this guide is available in your free trial. 3 days free, no credit card required.
Start Free Trial Now